/
4. Camera Settings
4. Camera Settings
- Daniel Baertschi
Owned by Daniel Baertschi
Last updated: Mar 17, 2018
Preparation
These instructions describe the most important settings on the basis of the factory settings.
- Put in the battery adapter and connect the camera via power supply.
- Put in an SD card and format it. Recommended: 8 or 16 GB or bigger
- Set time and time zone of the camera.
- Turn off autofocus assist lamp via configuration.
- Change the exposure measurement of the camera to A.
- Set the focus mode for the lens to autofocus. In this way the camera can be focused by remote control.
- Put the cover on the viewfinder.
- Close the display.
- Connect the USB cable from the camera to the camera controller.
- Connect the USB voltage supply from Raspberry Pi with power supply.
- Connect camera controller with Ethernet cable with power supply.
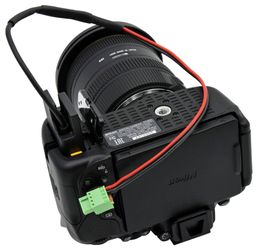
- Put the camera into the housing and screw it on.
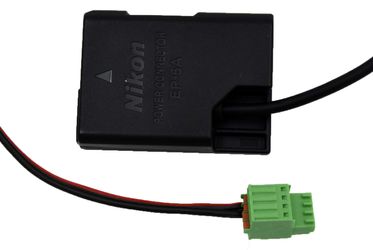
Picture: Put in the battery adapter
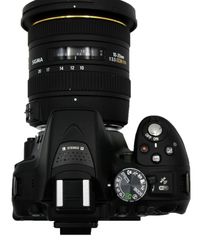
Picture: Set camera exposure measurement to A for aperture priority mode.

Picture: Set object focus mode to autofocus
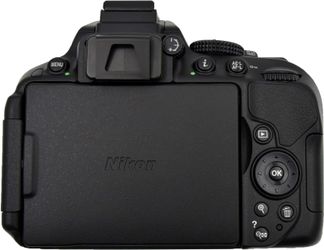
Picture: Put cover on the viewfinder and close the display
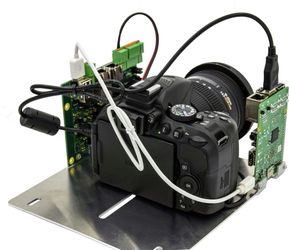

Picture: wired camera
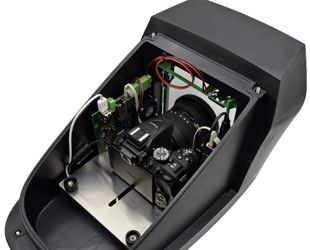
Picture: Camera mounted in the housing
, multiple selections available,
Related content
General feed settings
General feed settings
More like this
Bmetry Configuration
Bmetry Configuration
More like this
Feed creation and configuration
Feed creation and configuration
More like this